With the unusually warm weather we’ve had, the greens are peeking up heralding the delights of spring salads, lighter meals, and herb-infused dressings. There’s nothing like the taste of spring greens in a simple dressage. They are bright, fresh, full of taste and texture and make a super meal as the days warm.
If you got a jump-start on planting by starting seeds indoors, you might already have arugula and spinach. If not, you will soon will as the garden grows. Or stop by the Kimberley General Store or Sideroad Farm for fantastic spring greens. Soon asparagus will be out too, according to Farmer Morris in Barrie. And who can say no to ramps, young Dandelion leaves, purslane, colourful violets and the myriad herbs shooting up. We’ve got the makings of a great salad!
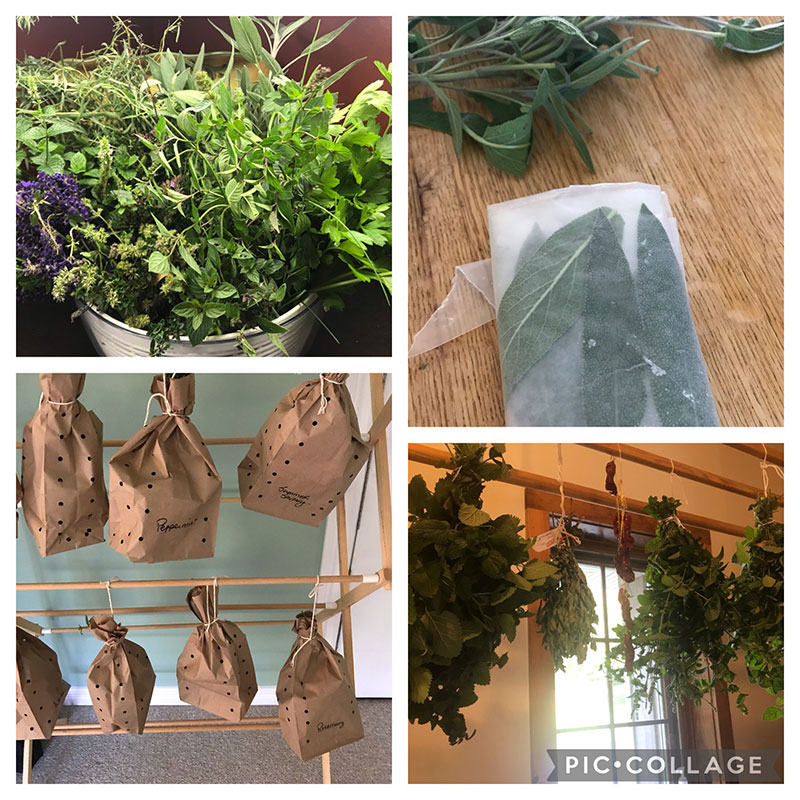
So that brings us to the question of vinaigrettes. What dressing suits the beautiful fresh spring salad? Many say, “keep it simple”. The taste is really in the greens so don’t cover it with big bold flavour. According to many chefs, a good vinaigrette is all about balance: acid to oil, sweetness to salt, an emulsifier and seasoning to taste. In general terms, the ratio of acid to oil is one to three. It isn’t essential to add an emulsifier like mustard, but it does help to make a creamier dressing. For sweet balance, go easy: just a dash of honey, maple syrup, a small teaspoon of home-made jam, jelly, or conserve, or even honey-mustard can do the trick. If you want to add minced shallots, or wild leeks, chopped herbs or zest of citrus, go for it. I make herb vinegars like tarragon or chive blossom which adds a subtle flavour to the vinaigrette, but you can use white wine vinegar, white balsamic, apple cider, red wine, rice wine, balsamic, sherry or champagne vinegar. There are no doubt great recipes around, but here’s mine to go with a young spring salad.
preservingwithmartha@gmail.com
Spring Salad Dressing
 (No Ratings Yet)
Ingredients
- 1 TBSP herb vinegar (choose what you have)
- 3 TBSP cold pressed olive oil
- 1 tsp Dijon mustard (or use honey-mustard for sweetness)
- ¼ tsp honey (or switch up the sweet addition – whatever moves you)
- Salt and pepper to taste.
Instructions
Sometimes I add more Dijon for a more mustardy dressing like you might find in a French bistro. If you increase mustard, remember it is salty so adjust the S&P at the end just before serving.
Whisk the dressing in the salad bowl for 30 seconds before adding the greens. Gently toss the greens with your hands. Season.
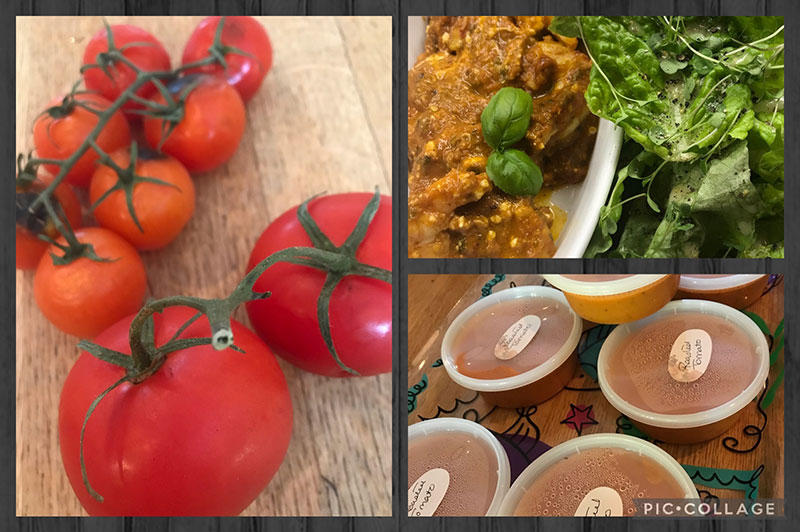
For the greens, collect or purchase young spring greens. Add Dandelion leaves and chopped wild leek leaves if you have them. Colour is important so adding violets (unsprayed of course), Dandelion petals or chive blossoms is a great idea. Make it a meal? Sure, add steamed or grilled asparagus, goat cheese, shaved parmesan, hard boiled eggs quartered, toasted nuts, good quality tuna in oil, or add grilled fish or meat on the side. And voila’, a salad to celebrate Spring.